While streaming, it is very important to be able to monitor your channel’s chat so you can properly engage and interact with your community. To be able to do this you need to be able to be playing your game while keeping an eye on a chat window. The most common solution to needing to be viewing two important program windows in short periods of time is to have two computer monitors. One for your full screen game and the second for your chat and any other additional windows you like to have open during your stream. While a simple solution, it’s not a very appealing to those who do not have the fiscal means of obtaining a second monitor. Another solution is using the twitch/YouTube gaming app on your phone or tablet to monitor your chat, but that involves needing a stand for your device to ensure you can view it without straining yourself. So what is the single monitor streamer to do?
Thankfully, there are a couple of options which can solve this problem.
A free Windows only program called “See Through Windows” does exactly what it says on the tin. It lets you see through windows… go figure. It can also pin those windows to the top of all of your other open programs so you can always view it. So, with this program you can take whatever your current method of viewing your stream chat is, whether it be popping out the chat from your channel dashboard, using a 3rd party program such as Chatty or an IRC client, and then activate “See Through Windows” to keep your chat pinned on top of your game screen and also making it semi-transparent enough that it doesn’t interfere with your gaming while still being able to read your chat.
See Through Windows can be downloaded from the following site:
http://www.mobzystems.com/tools/seethroughwindows/
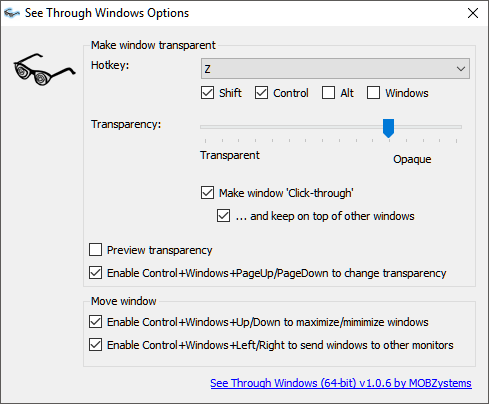
Main options panel for “See Through Windows” |
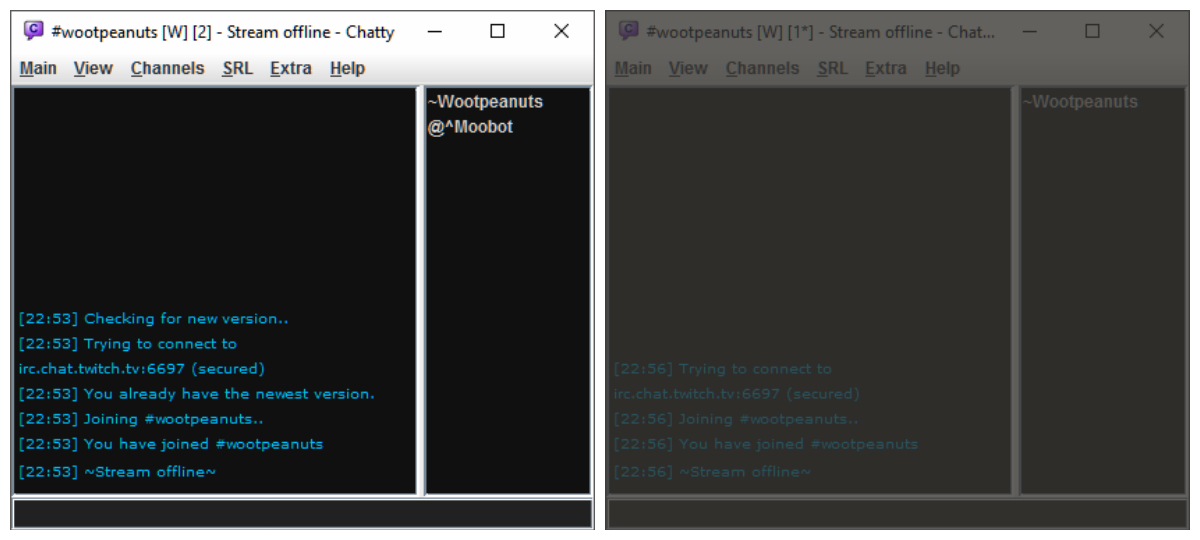 Chatty window with no transparency (Left). Transparency using “See Through Windows” on Chatty (Right) |
|
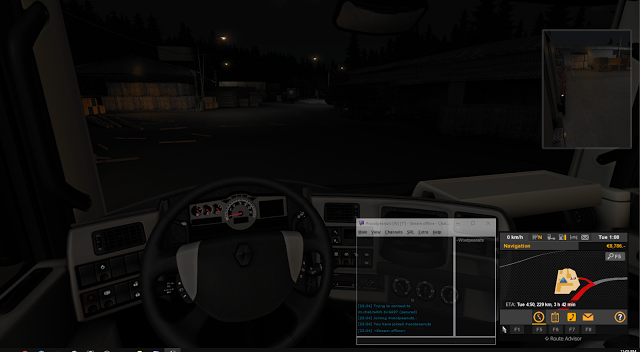
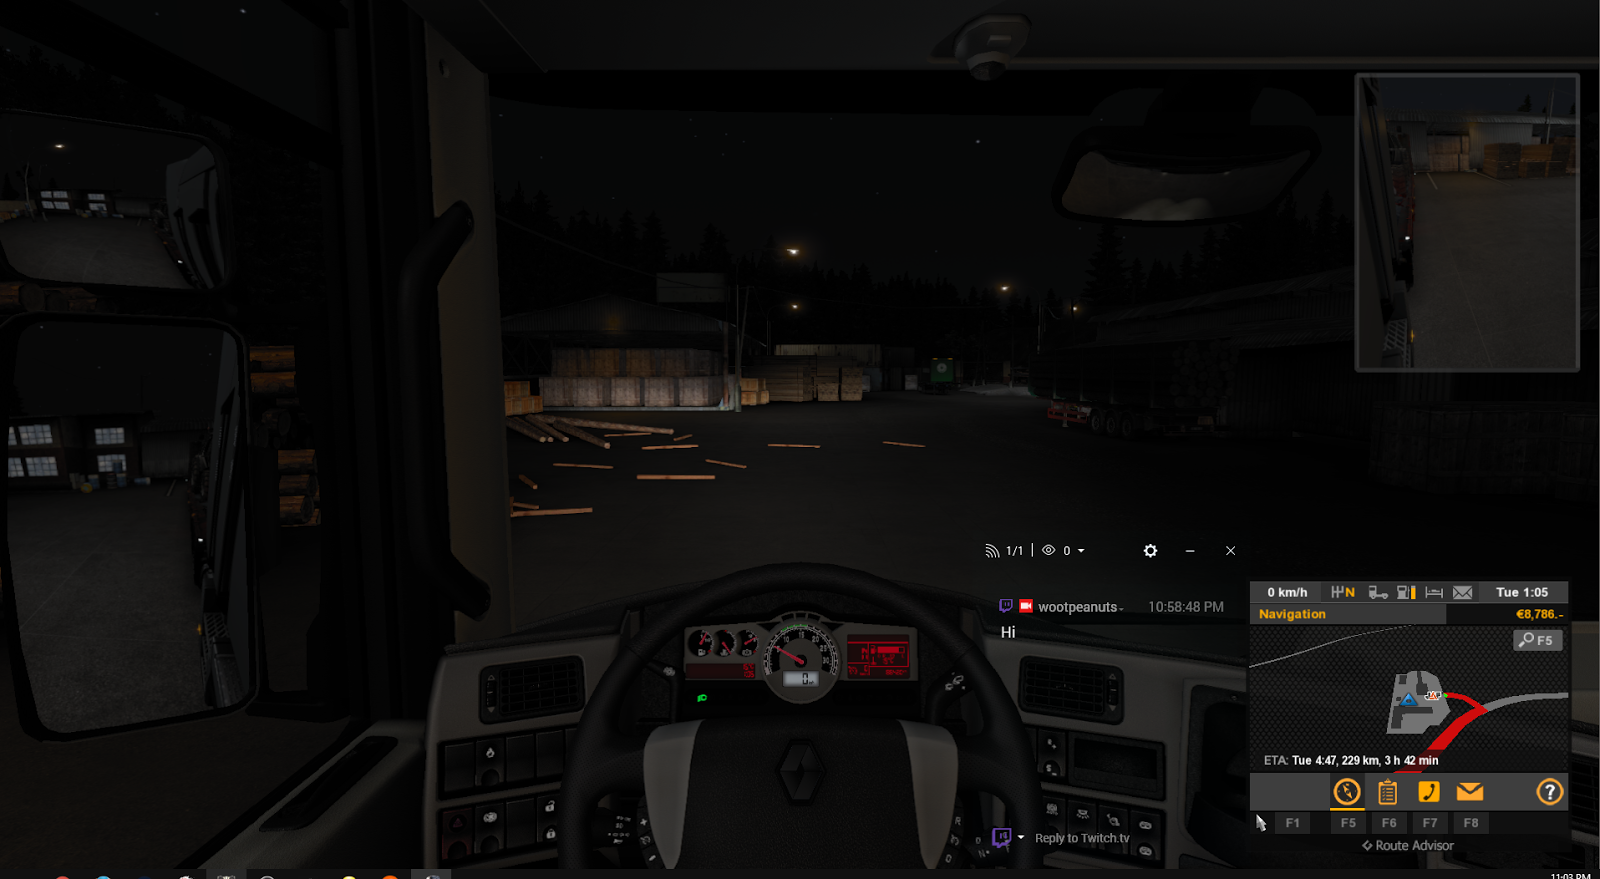
Transparent and pinned Chatty window over top of Euro Truck Simulator 2 |
A second option is to use a 3rd party chat tool which already includes the functions to pin on top of windows and be transparent baked in. Enter, Restream.io chat.
Restream.io itself is a service for broadcasting your livestream to multiple streaming sites at the same time. So, instead of just streaming to Twitch.tv, using restream.io you could link your twitch.tv account as well as your YouTube gaming channel, hitbox.tv, beampro, etc…
Along with this service, they have a standalone program called Restream.io chat for viewing all of the chat windows from these multiple sites in one handy window. Now, you don’t need to be using multiple live streaming sites or using Restream.io to broadcast your stream to make this tool work. You do, however, need to create an account and link your preferred live streaming site account to allow it access to your chat.
The program can be found here: https://restream.io/chat?dashboard=1
Unfortunately, just like See Through Windows, this program is Windows only currently.
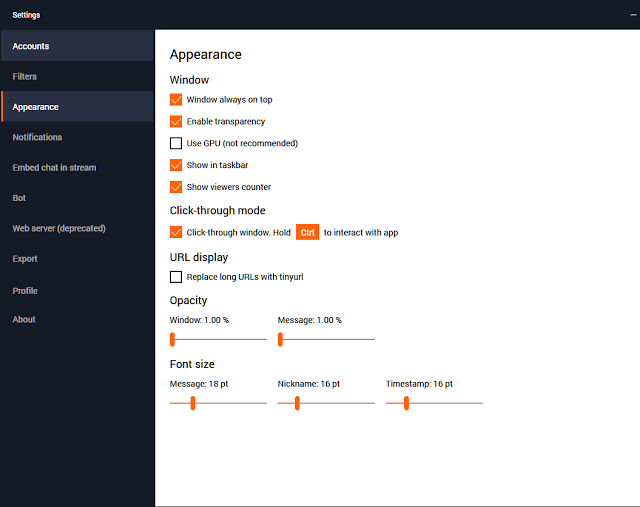
Once your account is set up, you can download and install the Restream.io Chat client and log in with your user credentials. You’ll have the option of seeing the chat or chats of each live streaming service you added to your restream.io account all in one chat window. If you just want to view one chat, then just add the one service. The appearance settings in the program (seen below) give you the option to enable transparency, pinning the chat window to always be on top, along with other options for font sizes and the like.
|
Appearance options panel in Restream Chat |
 |
|
|
 Restream Chat in full transparency overlayed on top of Euro Truck Simulator 2
If you wish to stream your games fullscreen while still being able to view your chat, you should keep in mind that you may need to use “Fullscreen Borderless Window” mode in the graphics/visual settings of each game. Otherwise, the chat windows may not stay on top of the game.
Viola! Now you can stream your games while still viewing your chat and no need to window tab or fumble with your phone or tablet. Unless you feel that method works better.
Got any other options for keeping tabs on your live stream chat while streaming with only using a single monitor? Leave them in the comments below.